Table of Contents
Installing Reshade (optional)
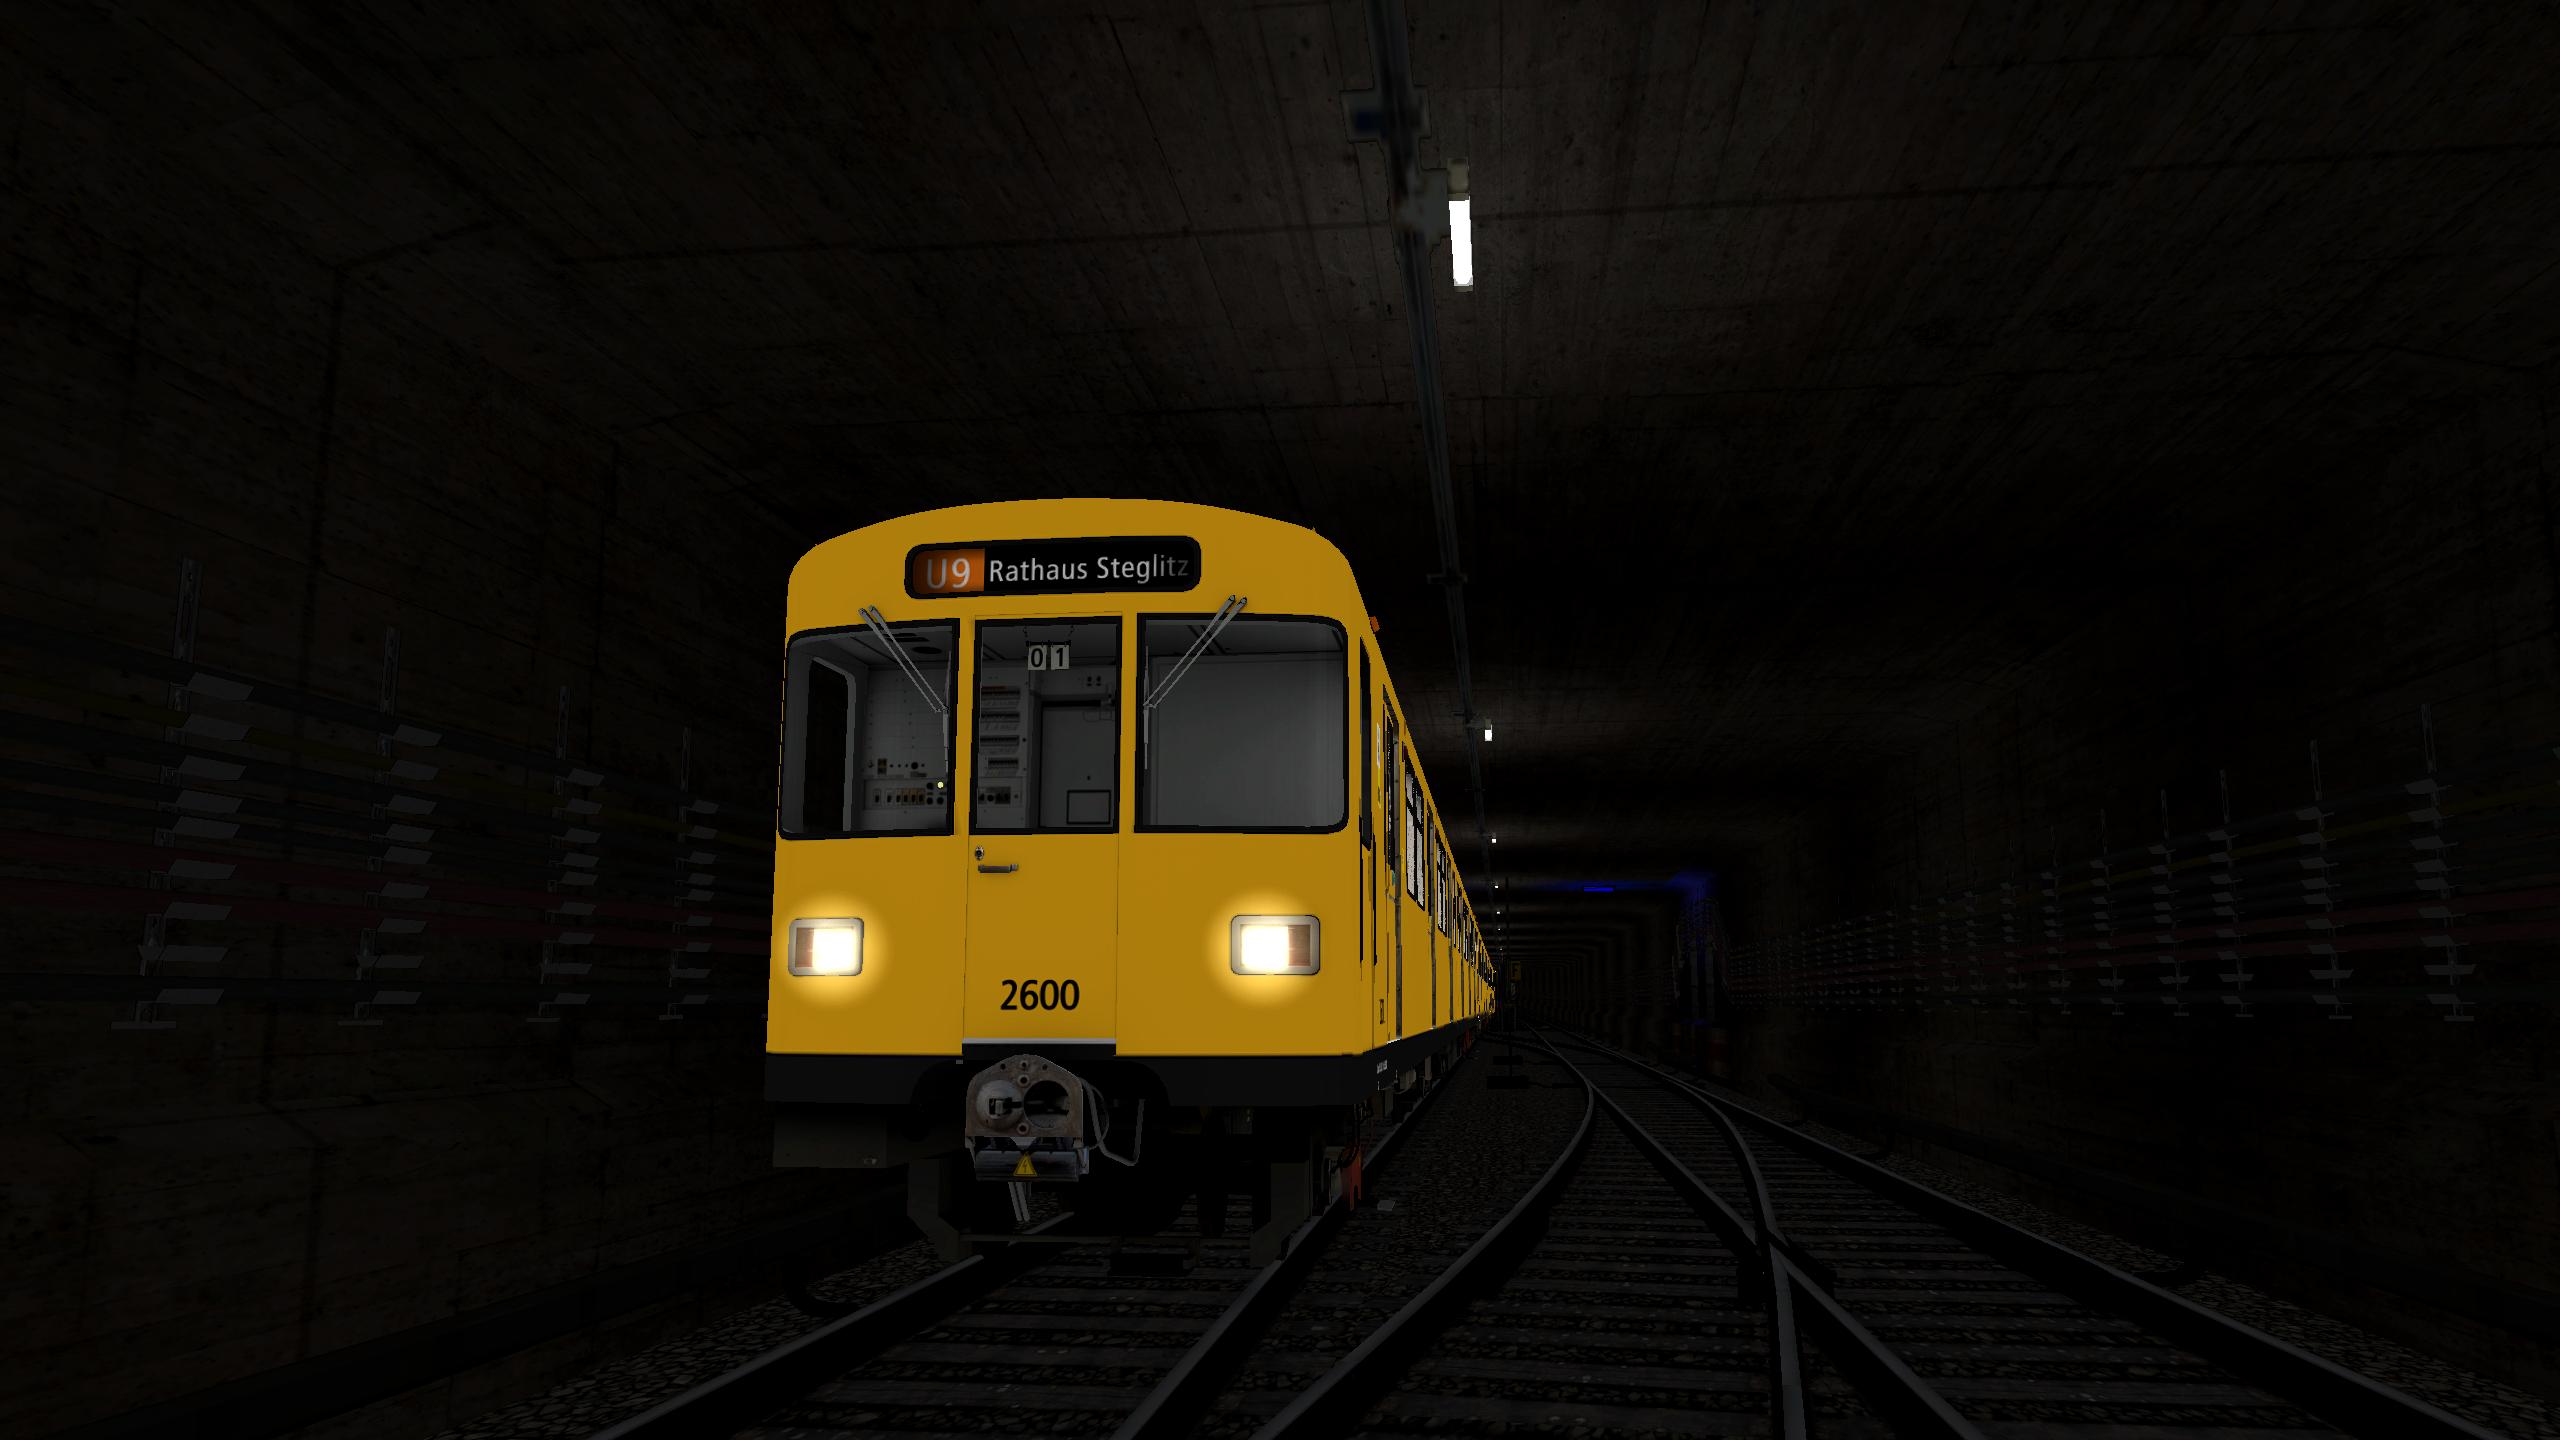
With the help of Reshade, you can improve the graphics of Trainz or make tunnels appear more realistic.
Some preparations must be made for this.
Installation
Step 1: Download and launch Reshade
Download Reshade via the official link to ensure you get the latest and verified version.
After downloading, open the file you just downloaded.
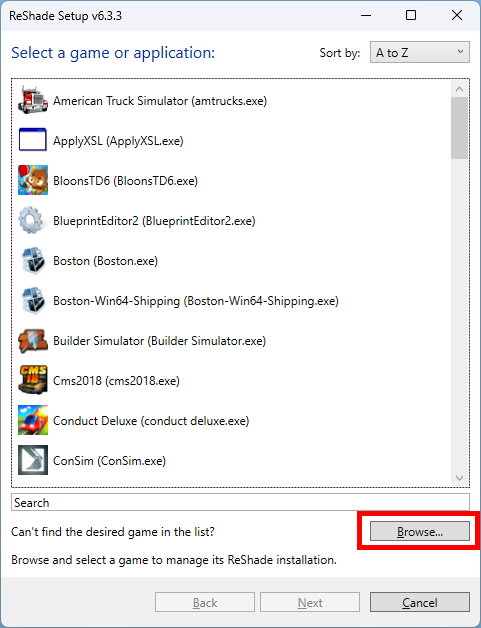
Step 2: Select Trainz installation path
In the Reshade window, click on “Browse…” and navigate to your Trainz installation directory.
- Open the bin folder
- Select the file trainz.exe
- Click on “Open”
Then click on “Next”.
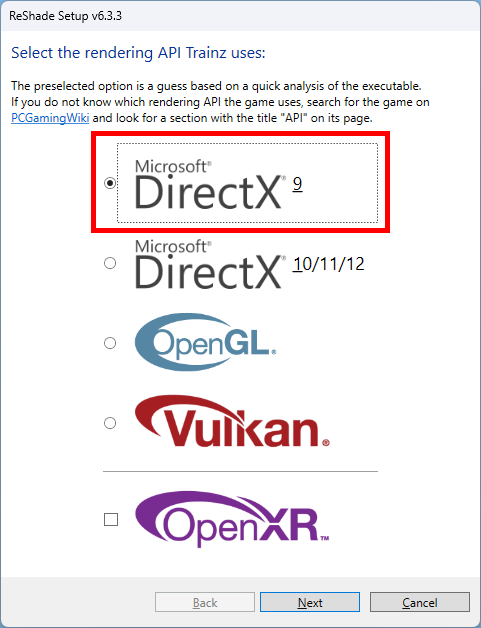
Step 3: Select graphics mode
Please ensure beforehand, as described on the page Steps after installation, that you have switched the graphics mode from OpenGL to DirectX.
Otherwise, graphical issues may occur.
In the Reshade installer, select DirectX 9 and click “Next”.
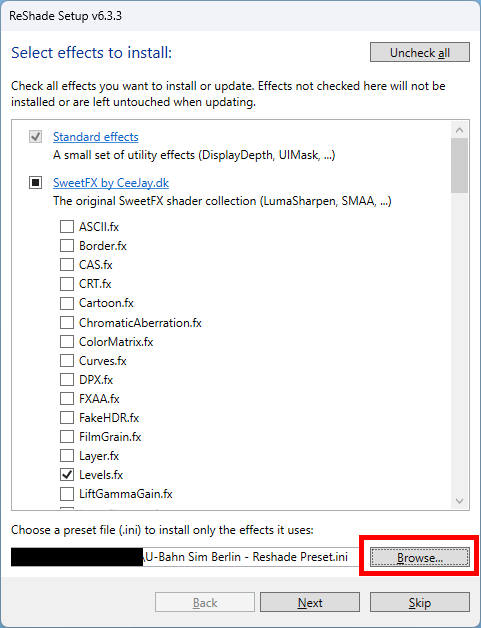
Step 4: Select and import preset
You can either use a pre-made preset or configure all shader settings manually.
We recommend starting with a preset, as it can still be adjusted later.
We provide a pre-made preset, which you can download here.
In the installation window, click on “Browse…” and select the preset file.
Then click on “Next”.
Step 5: Download shaders and finish installation
Now all the necessary shaders are being downloaded and ReShade is being installed
Once the download is complete, click “Finish” in the confirmation window.
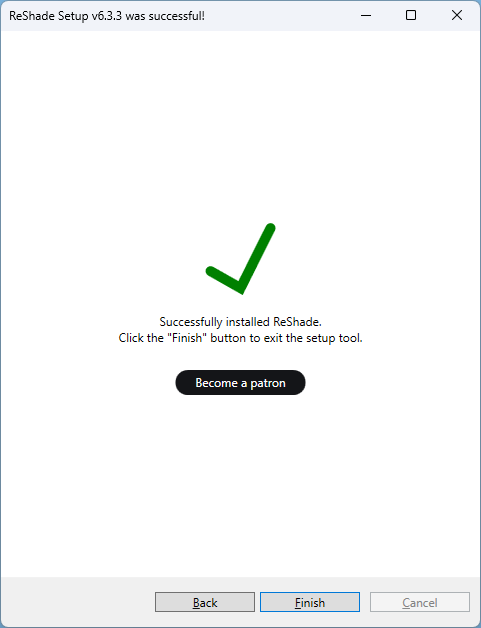
That’s it – ReShade will be installed and activated the next time you start Trainz.
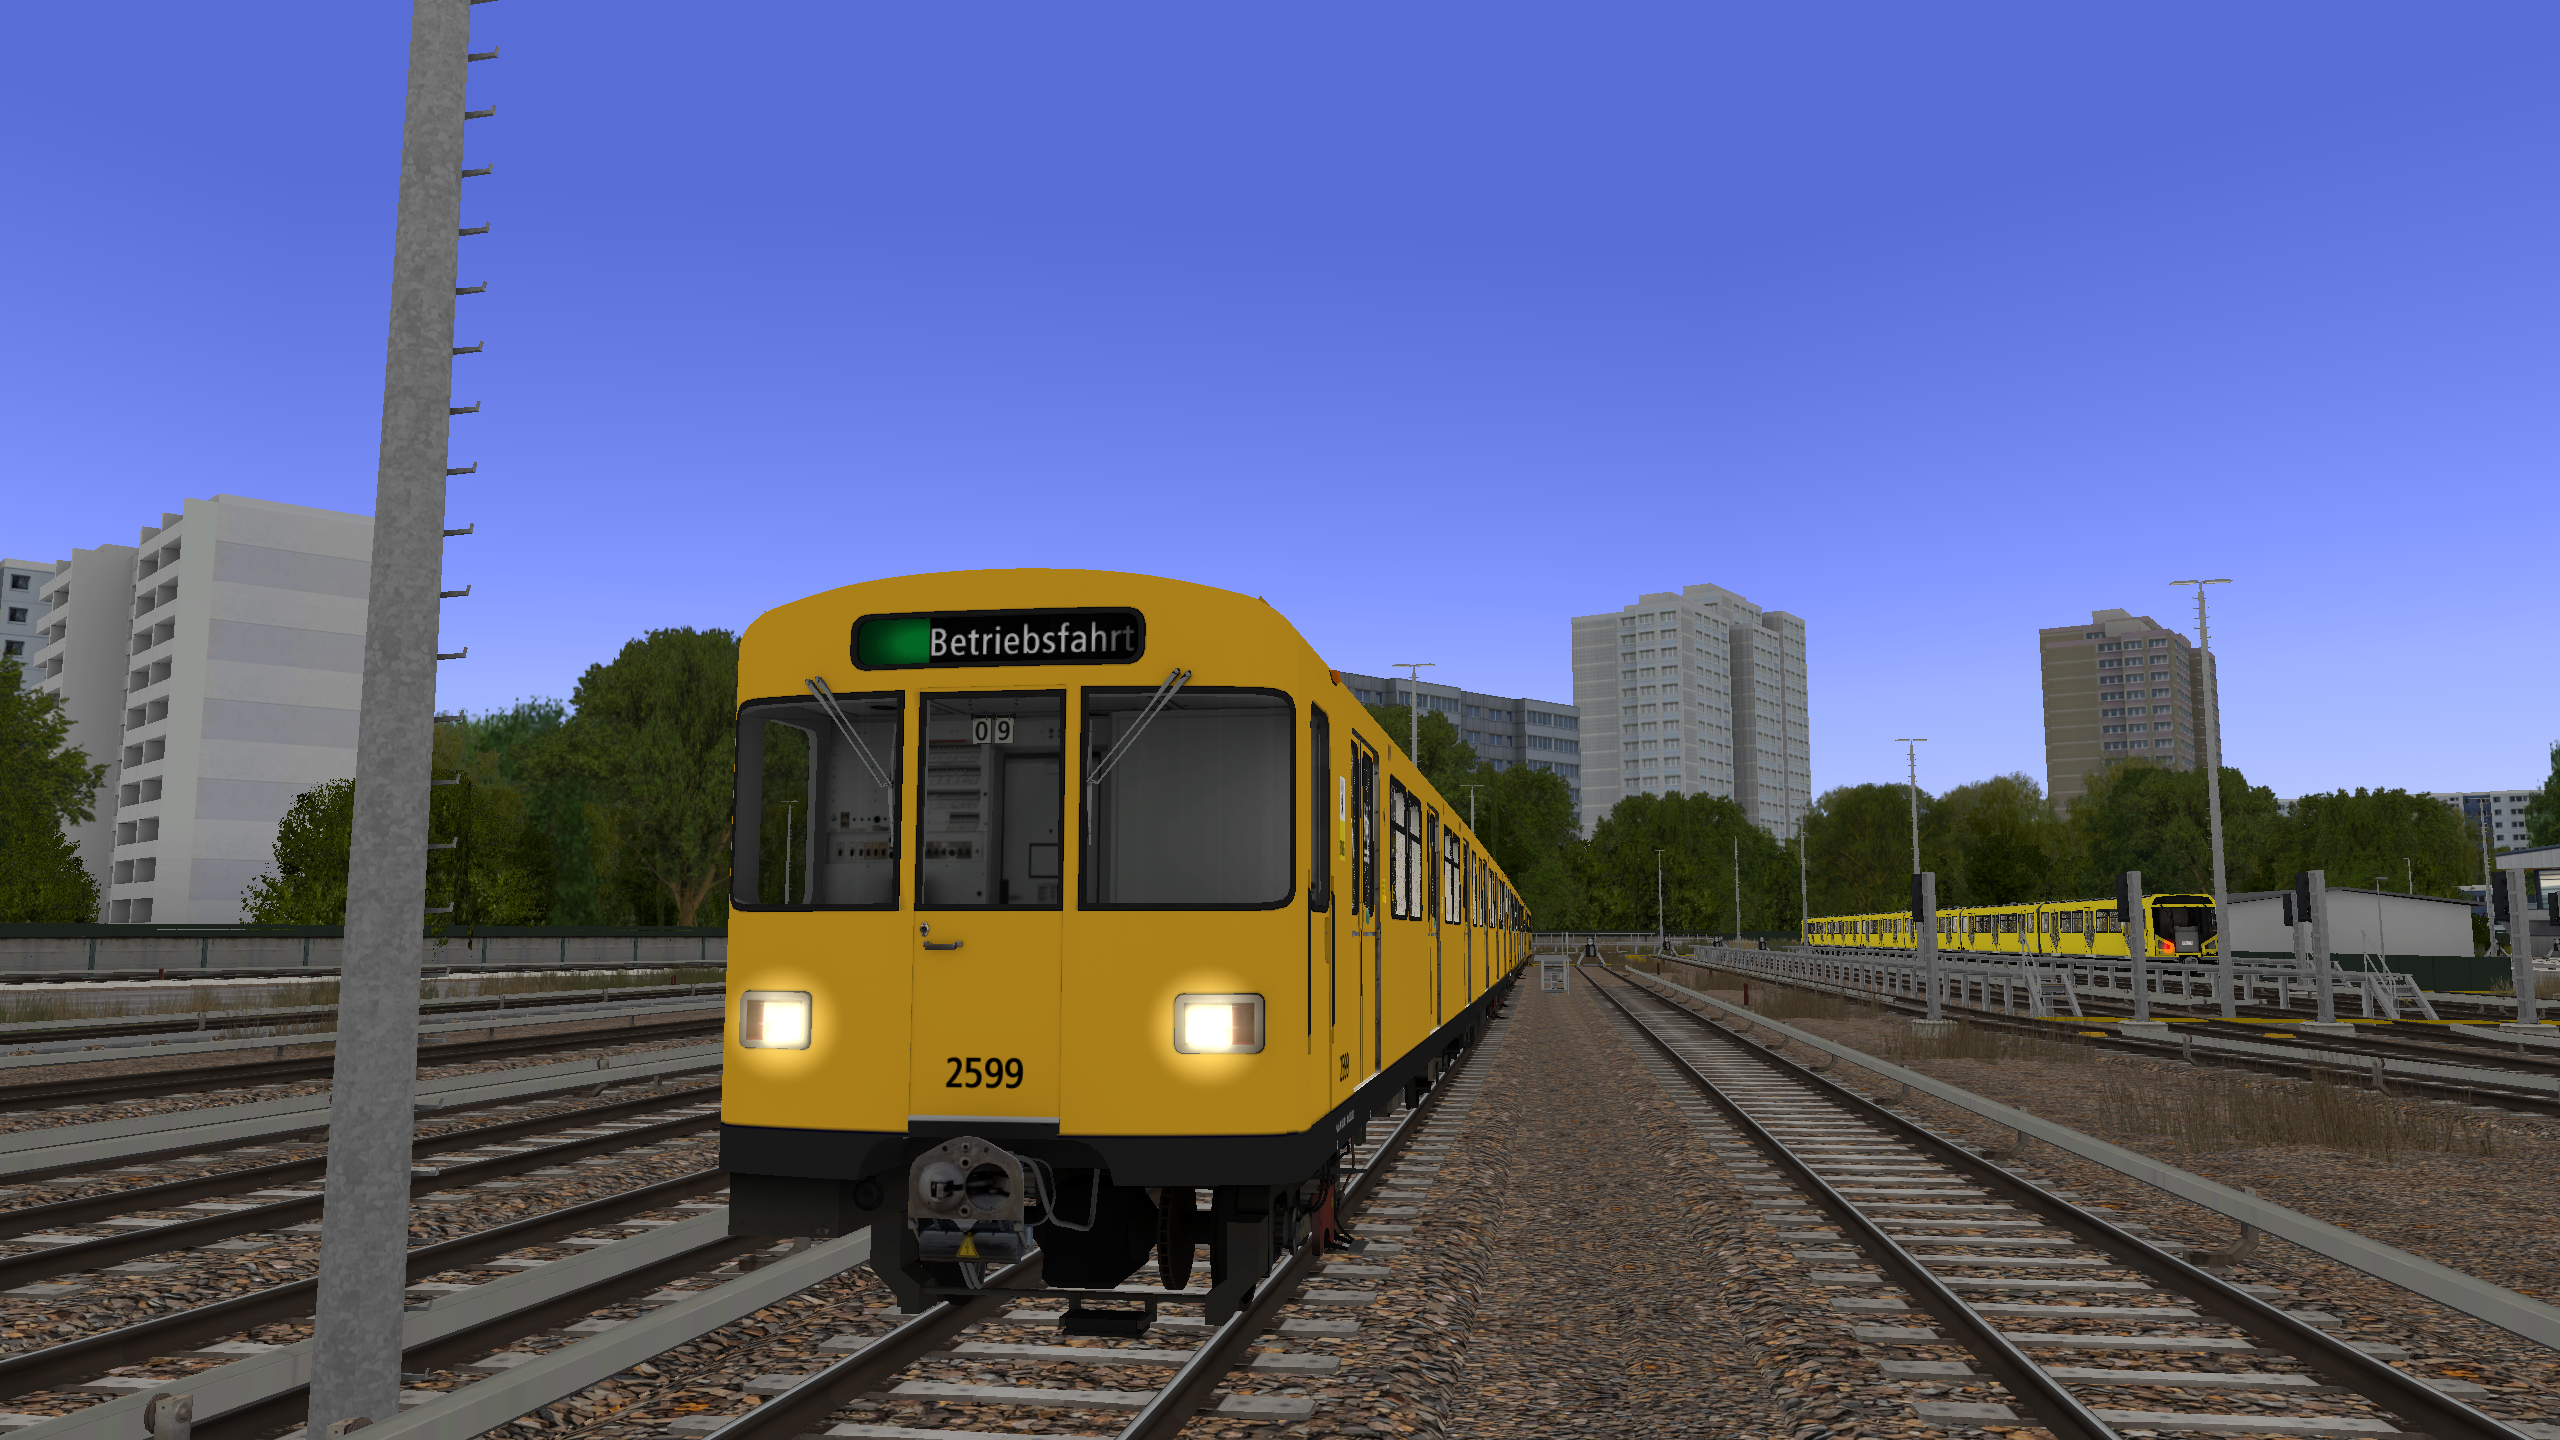
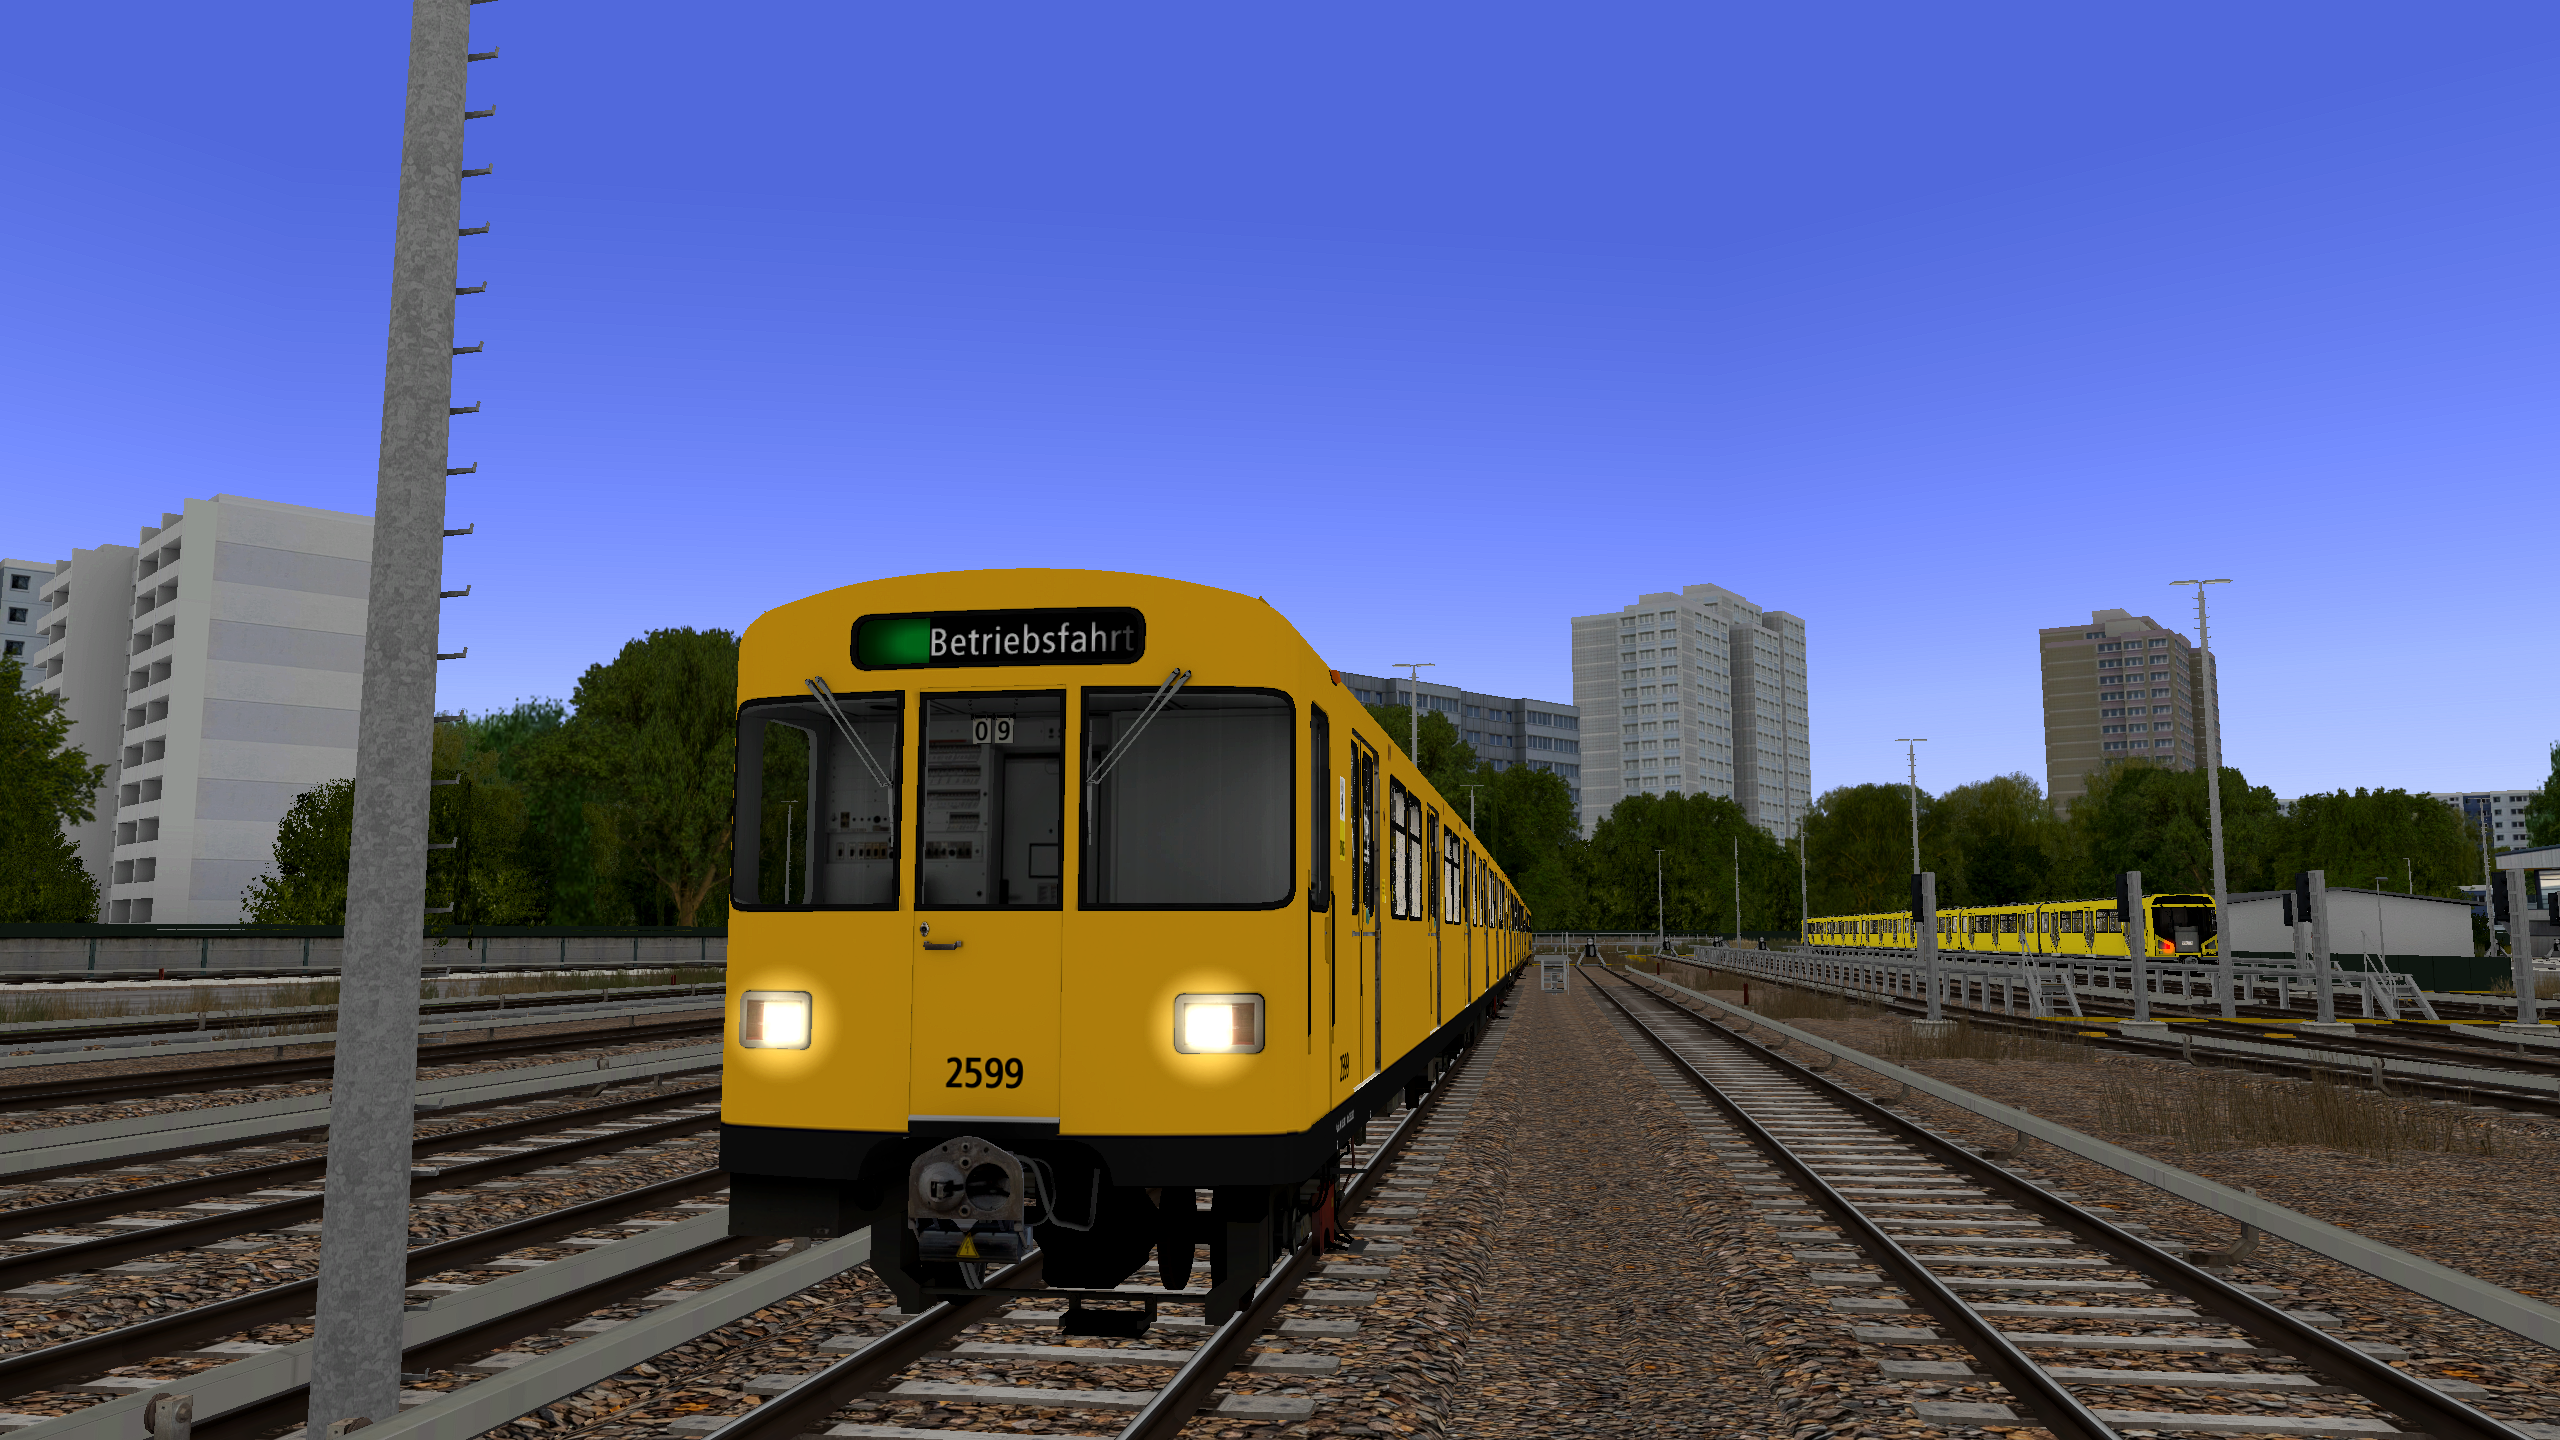
Before-After comparison
Before
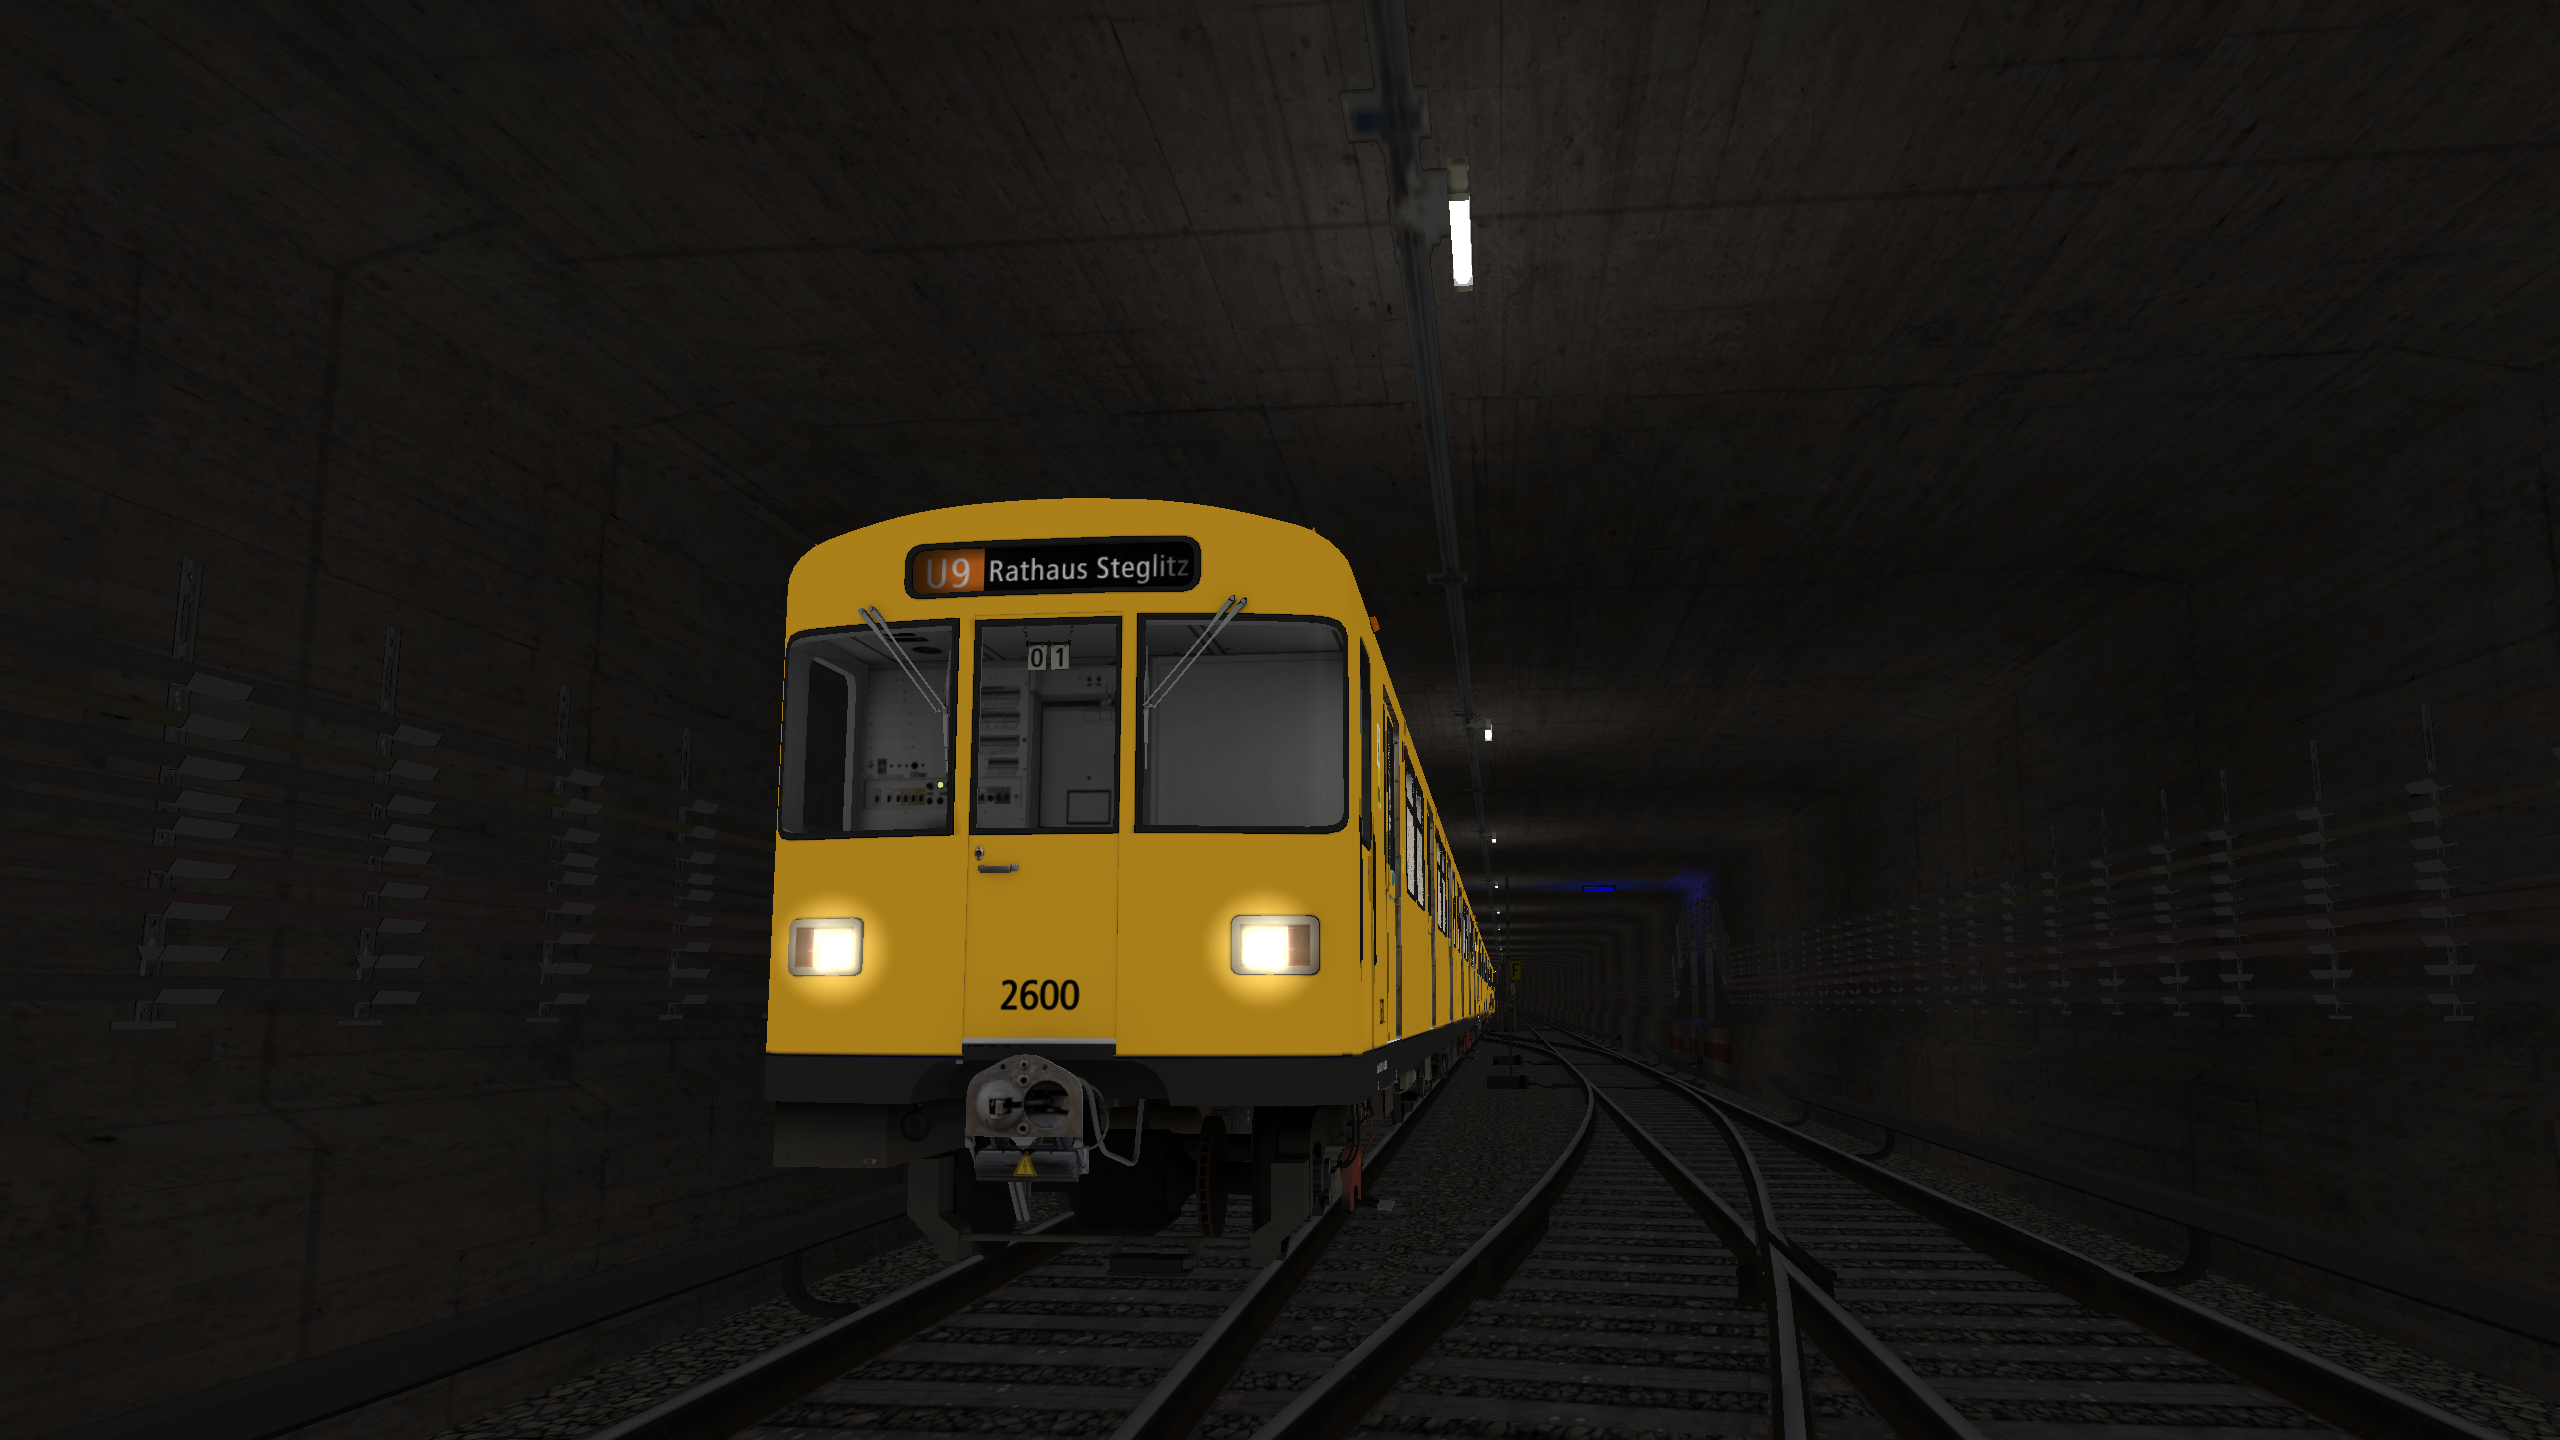
After

Add more effects
If the installed effects are not enough, you can install additional ones.
To do so, repeat steps 1-3.
The installer will recognize that Reshade is already installed for Trainz and will ask how to proceed:
- Update Reshade to a new version?
- Update Reshade and effects?
- Uninstall Reshade and effects?
After selecting the second option, you can now add or remove additional effects for Reshade.